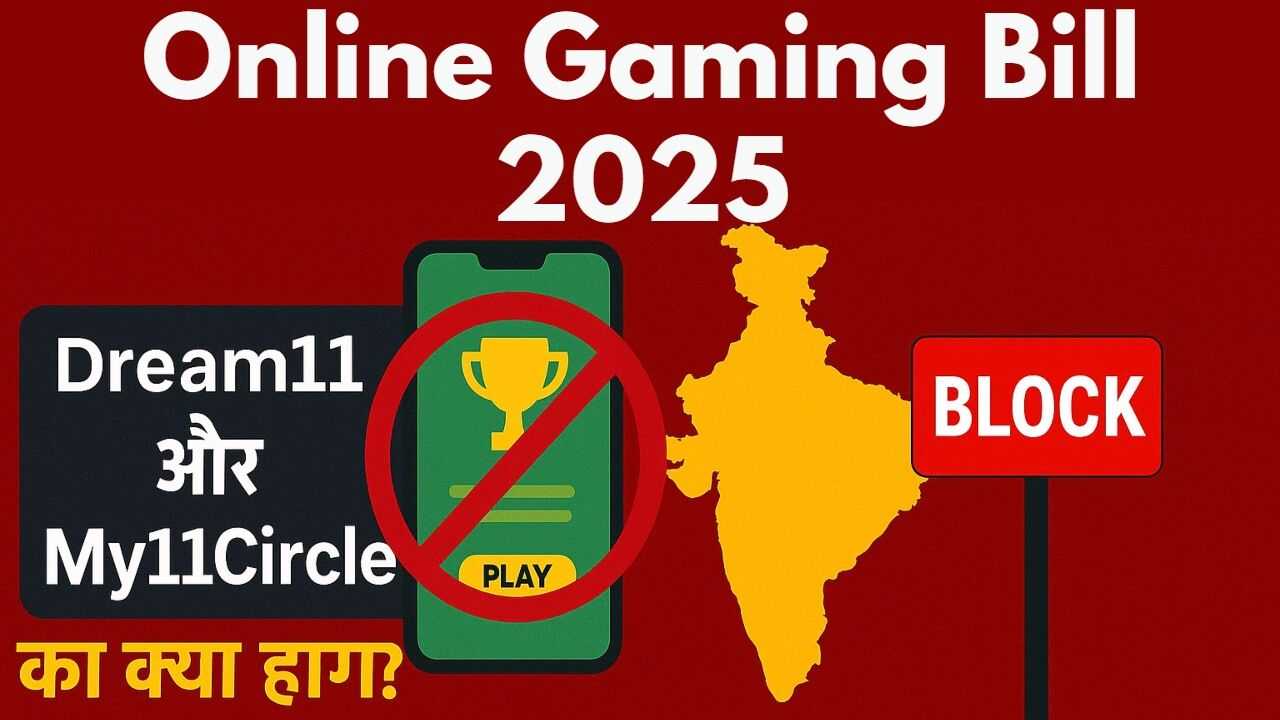
Thumbnails are the first impression of any YouTube video, blog post, or digital content. An attractive thumbnail can boost your click-through rate (CTR) and engagement significantly. But many beginners struggle with designing professional thumbnails — that’s where Canva comes in.
In this detailed tutorial, you’ll learn how to create a thumbnail from Canva (both free and Pro version), step-by-step — even if you have zero graphic design skills.
#CanvaThumbnail #YouTubeThumbnail #FreeThumbnailMaker #CanvaDesign #CreateWithCanva #YouTubeTips #ThumbnailDesign #BlogThumbnail #GraphicDesignForBeginners #CanvaTutorial #YouTubeGrowth #ClickThroughRate #ThumbnailCreation #ContentCreatorTools #CanvaTips #CanvaForYouTube #YouTubeThumbnailTips #DesignWithCanva #CanvaFree #EyeCatchingThumbnail
🧾 What is Canva?
It is a free online design tool that allows you to create professional-quality graphics such as:
YouTube thumbnails
Blog post banners
Instagram posts
Infographics
Posters and more
With Canva, you get access to thousands of templates, fonts, stock photos, icons, and drag-and-drop tools — all through a simple interface.
🎯 Why Use it for Thumbnails?
| Benefit | Description |
|---|---|
| 🖼 Pre-built Templates | Ready-made YouTube, blog, and social media thumbnails |
| 🎨 Drag & Drop Interface | No technical skills needed |
| 📱 Mobile-Friendly | You can design thumbnails on your phone |
| 💰 Free to Use | Most features are available in the free plan |
| 🌐 Cloud Storage | Your designs are saved online automatically |
✅ Things You Need Before Starting
Before you start creating a thumbnail, gather the following:
Title or text you want to display on the thumbnail
Brand logo or watermark (optional)
Images or screenshots related to your content
Color scheme or branding guidelines (optional)
🛠 Step-by-Step: How to Create a Thumbnail
🔹 Step 1: Sign Up or Log In to Canva
Go to www.canva.com
Sign up using your Google, Facebook, or Email
After logging in, go to the Canva Dashboard
📱 You can also download the Canva mobile app (iOS & Android)
🔹 Step 2: Choose the Right Thumbnail Size
Click on “Create a Design” button in the top-right corner and select the canvas size.
For thumbnails:
YouTube Thumbnail Size:
1280 x 720 px(16:9 ratio)Blog Featured Image:
1200 x 675 px(or per your blog theme)
You can also search:
👉 “YouTube Thumbnail” or “Blog Banner” in the search bar.
🔹 Step 3: Pick a Template (Optional)
It offers thousands of ready-made thumbnail templates.
Click on the “Templates” tab on the left side
Search by topic (e.g., “Travel thumbnail”, “Education”, “Tech”, “Blog”, etc.)
Click on a template to load it on your canvas
🔰 You can also start with a blank design if you prefer custom creation.
🔹 Step 4: Add Background Image or Color
To change the background:
Click on the background area
Choose a solid color or click Photos tab to add an image
Use Internal free stock photos or upload your own image
Use high-contrast backgrounds for better readability
🔹 Step 5: Add Text and Customize Fonts
Click on Text from the left menu:
Use “Add a heading” for bold titles
Choose stylish fonts that match your content
Use bold, large fonts that are readable even on small screens
Tips:
Use 3–5 words max
Avoid clutter
Add stroke (outline) or shadow to text for visibility
AD
🔹 Step 6: Add Elements, Icons, or Stickers
Go to “Elements” tab to add:
Arrows, shapes, stickers, emojis
Frames or highlights
Play button (for YouTube)
Use them to direct attention or highlight features.
🔹 Step 7: Upload Your Own Image or Face (Optional)
Adding your face increases trust and engagement, especially on YouTube.
Click on Uploads → Upload Media
Choose your image or screenshot
Drag and place it on the design
You can remove background (Pro feature), or use background remover tools like remove.bg
🔹 Step 8: Add Brand Logo or Watermark
Branding is important for recognition.
Upload your logo
Place it at a corner (bottom-right is standard)
For Pro users, It lets you create a brand kit (colors, fonts, logos).
🔹 Step 9: Adjust Layout & Alignment
Align elements properly using smart guide lines
Use Spacing & Position tools to keep everything balanced
Ensure text isn’t too close to the edges
🔹 Step 10: Preview and Download Your Thumbnail
Click Preview to check how it looks on different devices
Click Share > Download
Choose format:
PNG(recommended for best quality)Download your thumbnail and save it on your device
🎯 For web use, compress your image using tools like TinyPNG.
🚀 Pro Tips for High-Converting Thumbnails
| Tip | Why It Matters |
|---|---|
| 🎯 Use Faces with Emotions | Human faces attract more clicks |
| 🎨 Bold Colors + Contrast | Makes text readable on any device |
| 📱 Test on Mobile | 60%+ viewers are on mobile devices |
| ✂️ Crop & Zoom | Show only relevant part of image |
| 🧠 Add Curiosity | Make the viewer want to click |
| 🧩 Keep it Consistent | Use same style in all thumbnails for branding |
❓ FAQs About Creating Thumbnails
Q1. Is Canva Free for Making Thumbnails?
✅ Yes. Most features are free. Canva Pro offers background remover, premium fonts, and stock photos.
Q2. What’s the ideal YouTube thumbnail size?
📏 1280 x 720 pixels (16:9 ratio)
Q3. Can I create thumbnails on mobile?
📱 Absolutely. Canva’s mobile app is very easy to use.
Summary
Creating a thumbnail from Canva is easy, fast, and highly effective — even for beginners. With its powerful design tools and thousands of templates, you can make scroll-stopping thumbnails that drive clicks and views to your content.
Whether you’re a YouTuber, blogger, or digital marketer, Canva helps you create thumbnails that stand out in the crowd — without spending a single rupee.
 डिस्क्लेमर (Disclaimer)
Thoth.in.net के इस ब्लॉग में दी गई सभी जानकारियाँ केवल सामान्य सूचना और जागरूकता के उद्देश्य से साझा की गई हैं। राइटर ने हर संभव प्रयास किया है कि जानकारी सटीक और अपडेटेड हो।
पाठकों से निवेदन है कि किसी भी आवेदन, निवेश, या निर्णय लेने से पहले संबंधित आधिकारिक स्रोत (जैसे सरकारी वेबसाइट, यूनिवर्सिटी पोर्टल, बैंक अथॉरिटी आदि) से जानकारी को एक बार अवश्य सत्यापित (cross-check) करें।
लेखक या वेबसाइट किसी प्रकार की हानि, गलती या ग़लतफहमी के लिए उत्तरदायी नहीं होगी।
 धन्यवाद!
यदि आपको जानकारी उपयोगी लगी हो, तो कृपया शेयर करें और सुझाव नीचे कमेंट में दें।
📬 Stay Updated! Subscribe to Our Newsletter
Get latest articles delivered straight to your inbox.


